
How to Fix Kitchen Wall Tiles: Quick & Easy Solutions

Are you tired of looking at your dull and outdated kitchen wall tiles? If so, it’s time to give your kitchen a much-needed makeover. Fixing kitchen wall tiles is a great way to add style and functionality to your space. In this blog post, we will guide you through the step-by-step process of fixing kitchen wall tiles, so you can transform your kitchen into a beautiful and modern space.
Materials You Will Need
Before we begin, let’s gather all the materials you will need for this project:
- Wall tiles
- Tile adhesive
- Tile grout
- Tile spacers
- Tile cutter or wet saw
- Tile adhesive spreader
- Grout float
- Tile sponge
- Bucket
- Tape measure
- Pencil
- Level
- Protective gloves and goggles
Step 1: Prepare the Surface
The first step in fixing kitchen wall tiles is to prepare the surface. Start by removing any existing tiles, if necessary. Use a hammer and chisel to carefully remove the tiles, being cautious not to damage the underlying wall. Once the tiles are removed, clean the surface thoroughly to ensure proper adhesion of the new tiles. Use a mild detergent and water to remove any dirt, grease, or residue.
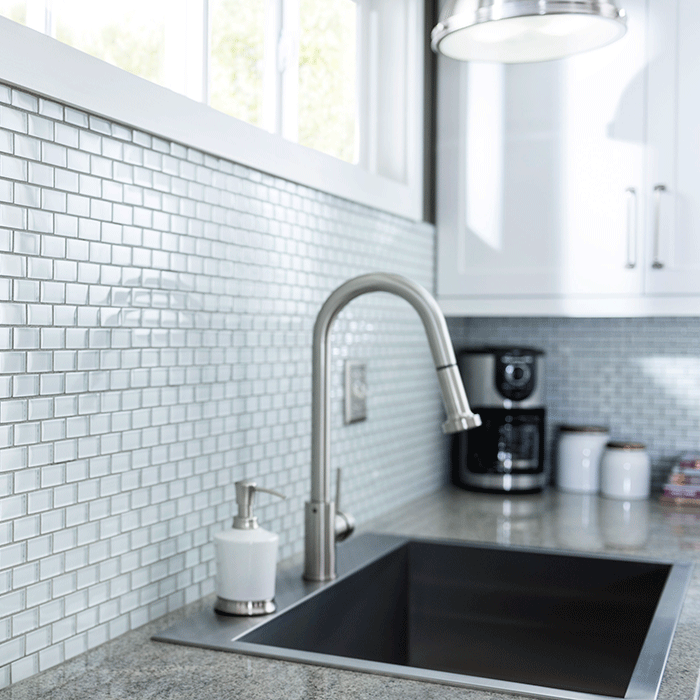
Credit: www.rubi.com
Step 2: Measure and Plan
Measure the area where you want to fix the kitchen wall tiles. Use a tape measure to determine the height and width of the space. This will help you calculate the number of tiles you will need. It’s always a good idea to purchase extra tiles to account for any breakages or mistakes.
Step 3: Apply Tile Adhesive
Using a tile adhesive spreader, apply a thin layer of tile adhesive to the back of the first tile. Make sure to spread the adhesive evenly to ensure proper adhesion. Press the tile firmly onto the wall, using tile spacers to create an even gap between the tiles. Continue this process, working your way from the bottom to the top of the wall.
Step 4: Cut Tiles to Fit
As you reach the edges or corners of the wall, you may need to cut the tiles to fit. Measure and mark the tile with a pencil, then use a tile cutter or wet saw to make the necessary cuts. Always wear protective gloves and goggles when using cutting tools.
Step 5: Allow Tiles to Set
Once all the tiles are in place, allow them to set according to the manufacturer’s instructions. This usually takes around 24 hours. Avoid touching or disturbing the tiles during this time to ensure proper adhesion.
Step 6: Apply Grout
After the tiles have set, it’s time to apply grout. Mix the grout according to the manufacturer’s instructions, then use a grout float to spread the grout over the tiles. Work the grout into the gaps, making sure to fill them completely. Remove any excess grout from the tile surface using a damp sponge.

Credit: m.youtube.com
Step 7: Clean and Seal
Once the grout has dried, use a clean, damp sponge to wipe away any remaining grout haze. Allow the grout to cure for the recommended time, then apply a grout sealer to protect the grout from stains and discoloration. Follow the manufacturer’s instructions for application.
Step 8: Enjoy Your Newly Fixed Kitchen Wall Tiles
Congratulations! You have successfully fixed your kitchen wall tiles. Step back and admire your hard work. Your kitchen now has a fresh and updated look that will surely impress your guests. Enjoy cooking in your newly transformed space!
Remember, fixing kitchen wall tiles requires patience and attention to detail. Take your time and follow each step carefully for the best results. If you encounter any difficulties, don’t hesitate to seek professional help. Now go ahead and give your kitchen the makeover it deserves!
Frequently Asked Questions
How To Prepare The Wall Surface For Tiling?
To prepare the wall for tiling, ensure it’s clean, dry, and free of any debris or grease.
What Type Of Tiles Are Suitable For Kitchen Walls?
For kitchen walls, opt for ceramic or porcelain tiles for their durability and easy maintenance.
What Tools Are Needed For Fixing Kitchen Wall Tiles?
You will need a notched trowel, tile spacers, tile cutter, grout float, and adhesive when fixing kitchen wall tiles.
Can I Tile Over Existing Kitchen Wall Tiles?
Yes, you can tile over existing tiles if they are in good condition and properly prepared.


