
How Tile Kitchen Floor: Transform Your Space in Steps

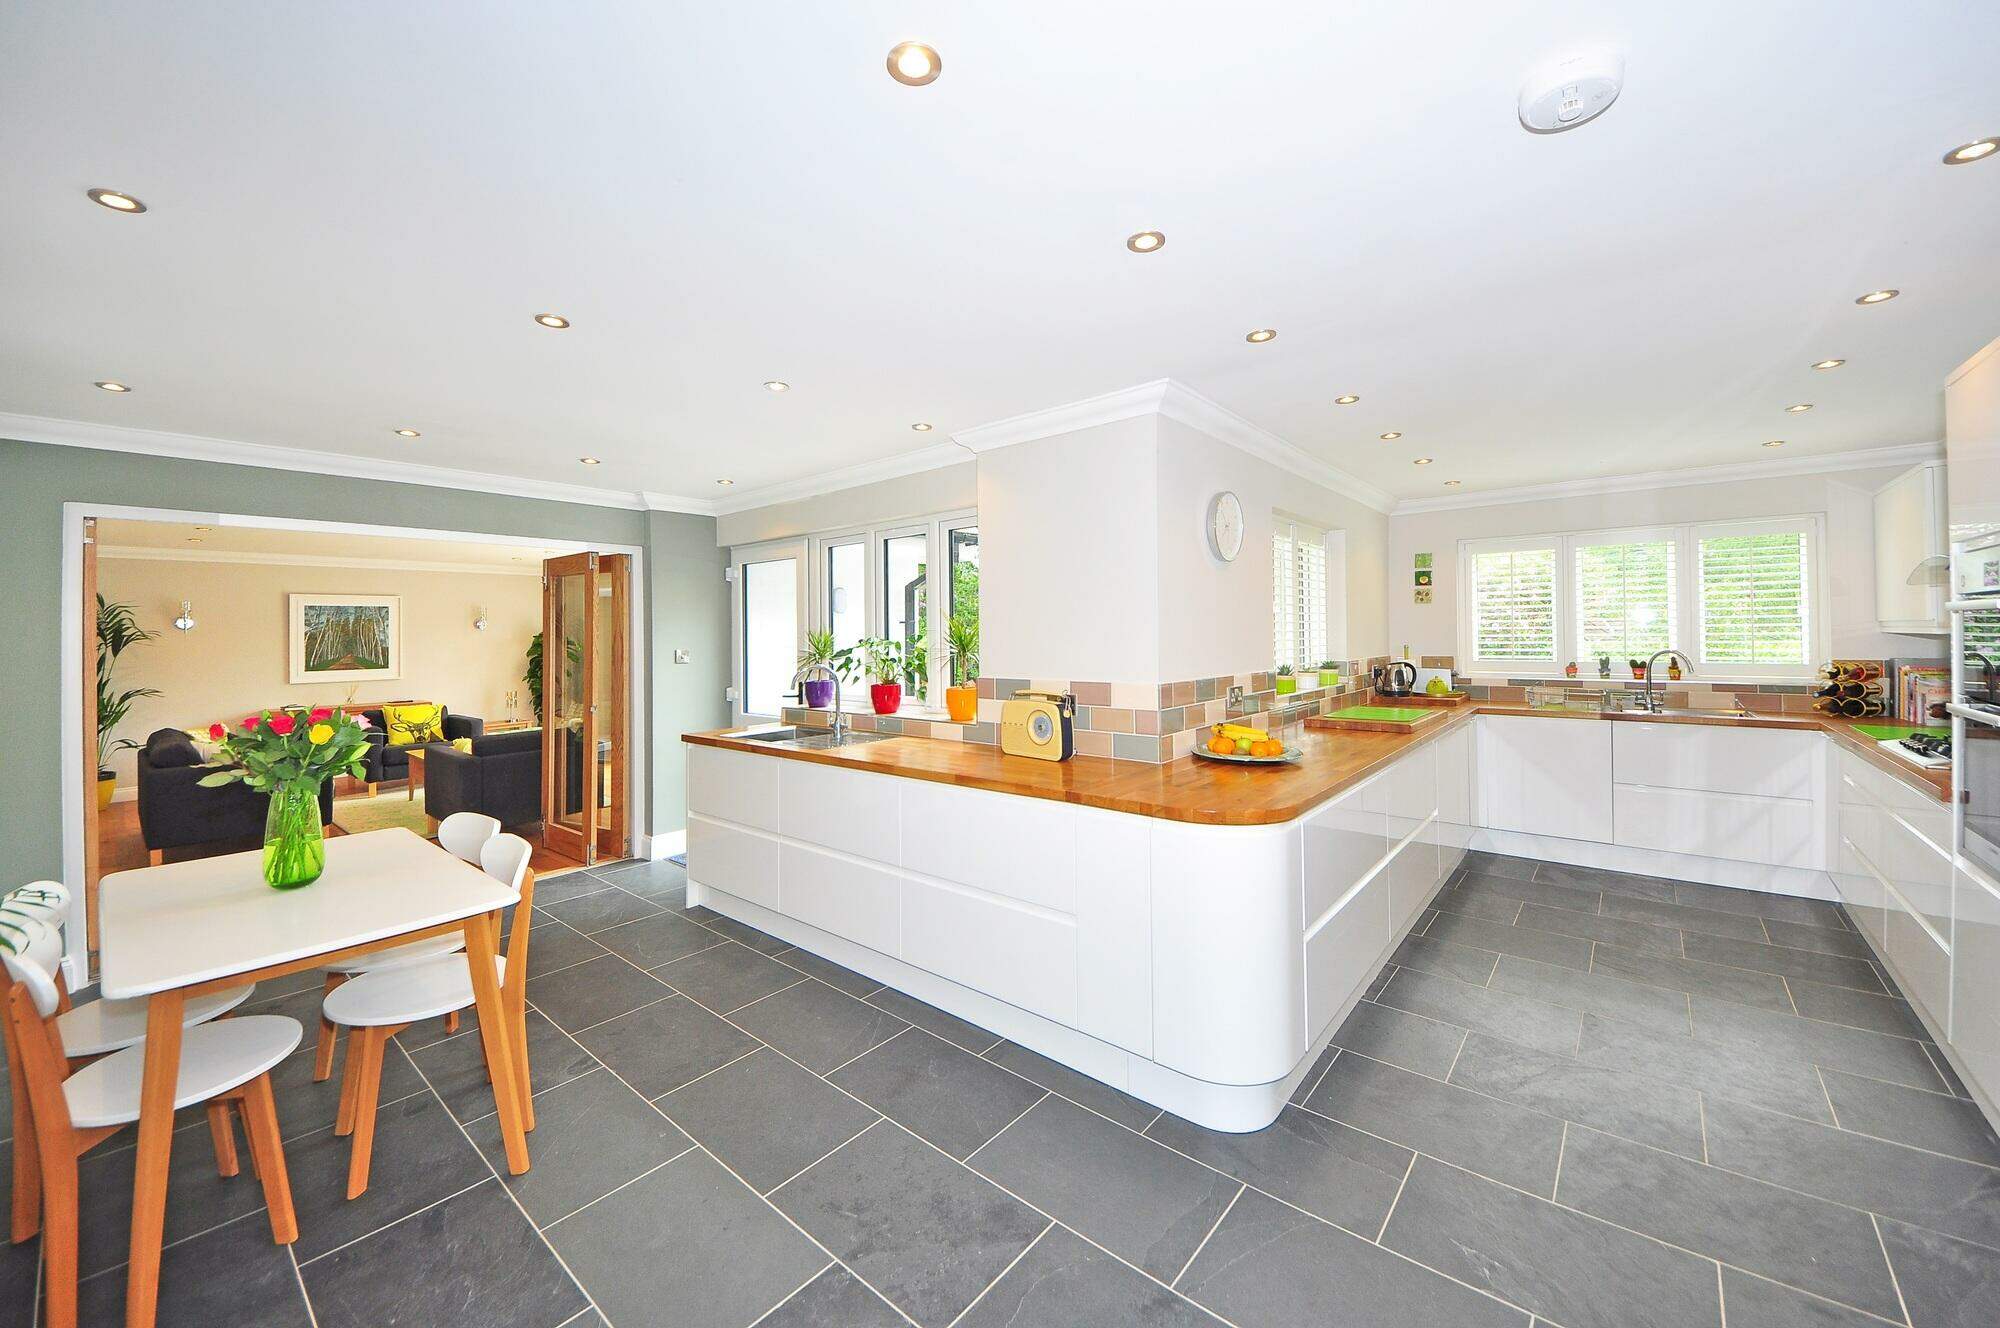
Are you considering upgrading your kitchen floor? Tiling your kitchen floor not only adds a touch of elegance and style to your space but also provides durability and ease of maintenance. With the right tools and a step-by-step approach, you can successfully tile your kitchen floor yourself. In this article, we will guide you through the process of tiling your kitchen floor, making it a rewarding DIY project.
Materials and Tools You Will Need
Before you begin tiling your kitchen floor, gather all the necessary materials and tools to ensure a smooth and efficient process. Here’s a list of what you’ll need:
- Porcelain or ceramic tiles
- Tile adhesive
- Tile spacers
- Trowel
- Tile cutter
- Grout
- Grout float
- Sponge
- Bucket
- Measuring tape
- Pencil
- Level
- Knee pads
Step 1: Prepare the Surface
Start by preparing the surface where you’ll be installing the tiles. Remove any existing flooring and ensure the subfloor is clean, level, and free of debris. If needed, repair any cracks or imperfections in the subfloor before proceeding.
Step 2: Measure and Plan
Measure the area of your kitchen floor to determine how many tiles you’ll need. It’s always a good idea to purchase some extra tiles to account for any mistakes or future replacements. Plan the layout of your tiles, considering the size and shape of the room. Mark the center of the floor as a starting point for your tile installation.
Step 3: Apply the Tile Adhesive
Using a trowel, apply the tile adhesive to a small section of the floor, starting from the center and working your way out. Make sure to spread the adhesive evenly, creating ridges with the trowel. This will help the tiles adhere properly.
Step 4: Lay the Tiles
Place the first tile in the center of the adhesive, pressing it firmly into place. Use tile spacers to maintain equal spacing between the tiles. Continue laying the tiles, working your way out from the center in a grid pattern. Make sure to press each tile firmly into the adhesive.
Step 5: Cut Tiles to Fit
As you approach the edges of the room or encounter obstacles such as cabinets or appliances, you may need to cut the tiles to fit. Use a tile cutter to make precise cuts, ensuring a seamless and professional-looking installation.
Step 6: Allow the Tiles to Set
Once all the tiles are laid, allow them to set according to the manufacturer’s instructions. This typically takes 24-48 hours. Avoid walking on the newly tiled floor during this time to prevent any damage or shifting of the tiles.
:max_bytes(150000):strip_icc()/kitchen-floor-tiles-wood-alternatives-a41e43d52e5b4bfeb1840ac70d26eaf7.jpg)
Credit: www.marthastewart.com
Step 7: Apply Grout
After the tiles have set, it’s time to apply the grout. Mix the grout according to the manufacturer’s instructions, ensuring a smooth and consistent consistency. Use a grout float to spread the grout over the tiles at a 45-degree angle, pressing it into the gaps between the tiles.
Credit: www.rubi.com
Step 8: Clean and Seal
Once the grout has been applied, use a damp sponge to clean off any excess grout from the surface of the tiles. Rinse the sponge frequently to avoid smearing grout on the tiles. Allow the grout to dry for a few days before applying a grout sealer to protect and prolong the life of your newly tiled kitchen floor.
Step 9: Enjoy Your New Kitchen Floor
Congratulations! You have successfully tiled your kitchen floor. Take a step back and admire your hard work. Your new tile floor will not only enhance the beauty of your kitchen but also provide durability and easy maintenance for years to come.
Tiling your kitchen floor can be a rewarding DIY project that adds value to your home. By following these step-by-step instructions and taking your time, you can achieve professional-looking results. Remember to gather all the necessary materials and tools before you start, and don’t hesitate to seek professional help if needed. Now, it’s time to enjoy your stunning new kitchen floor!
Frequently Asked Questions
How To Choose The Right Tile For A Kitchen Floor?
Consider durability, water resistance, and style when choosing kitchen floor tiles. Look for non-slippery options.
What Are The Benefits Of Tiling A Kitchen Floor?
Tiling offers durability, easy maintenance, water resistance, and a wide range of design options for kitchen floors.
Can I Install Kitchen Floor Tiles Myself?
Yes, you can install kitchen floor tiles yourself if you have the necessary tools and follow proper installation guidelines.
What Is The Best Way To Clean A Tile Kitchen Floor?
Regularly sweep or vacuum to remove debris, then clean with a damp mop using a mild detergent solution.


