
How to Repair Kitchen Floor Grout: Quick & Easy Fixes

Grout is an essential part of any tiled surface, including kitchen floors. Over time, grout can become cracked, stained, or damaged, detracting from the overall appearance of your kitchen. Repairing the grout in your kitchen floor is a relatively simple and cost-effective way to refresh the look of your space. In this guide, we will walk you through the steps to repair your kitchen floor grout, helping you achieve a fresh and clean finish.
Assess the Damage
The first step in repairing your kitchen floor grout is to assess the extent of the damage. Inspect the grout lines carefully, looking for cracks, crumbling, or discoloration. Determine the areas that need attention to plan your repair strategy effectively.
Gather Your Materials
Before you begin the repair process, gather all the necessary materials. You will need grout, a grout saw, grout float, sponge, and a bucket. Ensure that you have the correct color of grout to match your existing kitchen floor grout.
Prepare the Area
Clean the tiled surface thoroughly to remove any dirt, debris, or grease. Use a suitable cleaner and a scrub brush to ensure that the grout lines are clean and free of any obstructions. Allow the area to dry completely before proceeding with the repair.
Remove the Damaged Grout
Using a grout saw, carefully remove the damaged grout from the kitchen floor. Work methodically, taking care not to damage the surrounding tiles. Clear out the old grout to create a clean and even surface for the new grout application.
Apply the New Grout
Prepare the new grout according to the manufacturer’s instructions. Using a grout float, apply the new grout to the cleaned and prepped grout lines. Ensure that the grout is applied evenly and pressed firmly into the spaces between the tiles.
Smooth the Grout Lines
Once the new grout is in place, use the grout float to smooth the grout lines and remove any excess grout from the tile surfaces. Work at a 45-degree angle to the grout lines to achieve a neat and uniform finish.
Clean the Tiles
Using a damp sponge, carefully wipe away any grout residue from the tile surfaces. Rinse the sponge frequently to ensure that you are not spreading grout across the tiles. Clean the tiles gently to avoid disturbing the freshly applied grout.
Allow the Grout to Cure
Allow the newly applied grout to cure according to the manufacturer’s instructions. This typically involves keeping the area dry and free from foot traffic for a specified period. Follow the recommended curing time to ensure that the grout sets properly.
Apply Grout Sealer
Once the grout has cured, apply a suitable grout sealer to protect the newly repaired grout lines. The sealer will help to prevent staining and keep the grout looking clean and fresh for longer periods.
Maintain Your Grout
Regular maintenance is key to preserving the appearance and integrity of your kitchen floor grout. Clean the grout lines regularly using a mild cleaner and a soft brush. Avoid harsh chemicals or abrasive tools that could damage the grout.
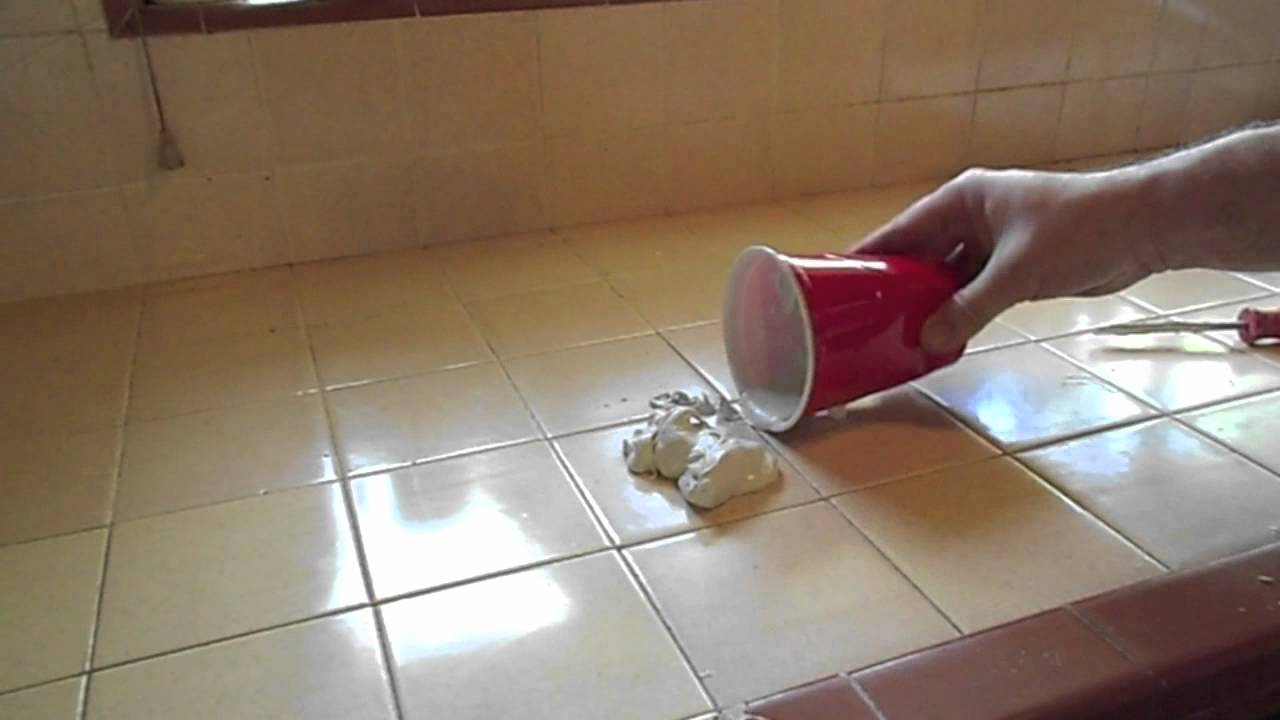
Credit: www.youtube.com

Credit: www.amazon.com
Frequently Asked Questions
How Do I Know If My Kitchen Floor Grout Needs Repair?
If you notice cracks, stains, or water damage on your grout, it’s time to repair it.
What Tools Do I Need To Repair Kitchen Floor Grout?
You’ll need a grout saw, grout float, sponge, and a grout mix to repair your kitchen floor grout.
Can I Repair Kitchen Floor Grout Myself?
Yes, you can repair kitchen floor grout yourself with the right tools and knowledge.
How Do I Remove Old Grout From My Kitchen Floor?
Use a grout saw to remove the old grout and clean the area with a sponge.
Conclusion
Repairing the grout in your kitchen floor is a straightforward process that can make a significant difference in the overall look of your space. By following these steps and taking care to maintain the grout properly, you can enjoy a clean and fresh kitchen floor for years to come.
Remember to inspect your grout regularly and address any issues promptly to prevent further damage. With the right materials and a bit of effort, you can restore the beauty of your kitchen floor grout and enhance the appeal of your kitchen.


