
How to Prepare Kitchen Wall for Tile Backsplash: Easy Guide

Adding a tile backsplash to your kitchen can instantly transform the look and feel of the space. Not only does it protect your walls from splashes and stains, but it also adds a touch of style and elegance. However, before you can install the tile, you need to properly prepare your kitchen wall. In this article, we will guide you through the steps of preparing your kitchen wall for a tile backsplash.
Gather the Necessary Tools and Materials
Before you begin, gather all the tools and materials you’ll need for the project. This includes:
- Tile adhesive
- Tile spacers
- Tile cutter
- Notched trowel
- Level
- Measuring tape
- Pencil
- Grout
- Sponge
- Bucket
- Painter’s tape
- Drop cloth
- Safety glasses
- Dust mask
- Protective gloves
- Sandpaper
- Primer
- Paintbrush
Prepare the Wall Surface
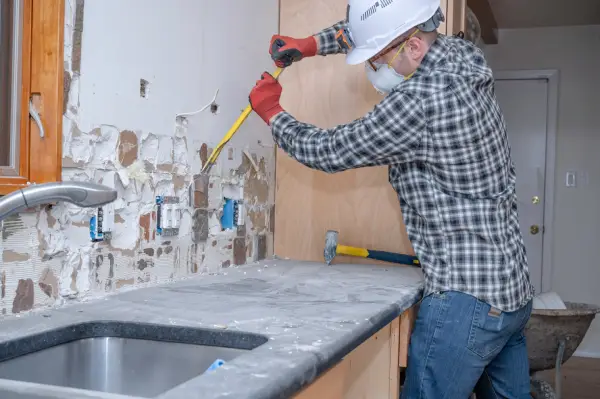
The first step in preparing your kitchen wall for a tile backsplash is to ensure that the surface is clean and smooth. Start by removing any existing wallpaper or paint using a scraper or sandpaper. If there are any rough patches or imperfections on the wall, use spackle or joint compound to fill them in. Once the surface is smooth, sand it lightly to create a rough texture that will help the tile adhesive bond better.
Credit: www.mrhandyman.com
Apply a Primer
After preparing the wall surface, it’s important to apply a primer. The primer will help the tile adhesive adhere to the wall and prevent any moisture from seeping through. Use a paintbrush to apply a thin, even coat of primer to the entire wall. Allow the primer to dry completely before moving on to the next step.
Measure and Mark the Layout
Before you start applying the tile, measure the area where you plan to install the backsplash. Use a measuring tape and a level to ensure accurate measurements. Once you have the measurements, mark the layout on the wall using a pencil. This will help you determine where to start and how many tiles you’ll need.
Apply the Tile Adhesive
Now it’s time to apply the tile adhesive. Start by mixing the adhesive according to the manufacturer’s instructions. Using a notched trowel, spread a thin layer of adhesive onto the wall, starting at the bottom and working your way up. Make sure to use the notched side of the trowel to create ridges in the adhesive. These ridges will help the tiles adhere properly.

Credit: forresterhome.com
Install the Tiles
Once the adhesive is applied, start installing the tiles. Place each tile onto the wall, pressing firmly to ensure a good bond. Use tile spacers to maintain even gaps between the tiles. Continue this process until all the tiles are installed. If you need to cut any tiles to fit around corners or edges, use a tile cutter.
Allow the Tiles to Set
After installing the tiles, allow them to set for the recommended amount of time. This will vary depending on the type of tile and adhesive you’re using. Refer to the manufacturer’s instructions for specific guidelines.
Apply Grout
Once the tiles have set, it’s time to apply the grout. Mix the grout according to the manufacturer’s instructions. Using a grout float, spread the grout over the tiles, making sure to fill in all the gaps. Remove any excess grout with a sponge, working diagonally across the tiles. Allow the grout to dry for a few minutes, then wipe away any haze with a clean, damp sponge.
Final Steps
After the grout has dried completely, remove the tile spacers and clean the tiles with a damp sponge. Inspect the backsplash for any areas that may need touch-ups or additional cleaning. Finally, apply a tile sealer to protect the grout and tiles from stains and moisture.
By following these steps, you can properly prepare your kitchen wall for a tile backsplash. Remember to take your time and pay attention to detail for the best results. Enjoy your new and beautiful kitchen backsplash!
Frequently Asked Questions
What Tools Are Needed For Preparing The Kitchen Wall For Tile Backsplash?
You will need a notched trowel, tile adhesive, spacers, level, and a tile cutter.
How To Clean The Wall Before Installing Tile Backsplash?
Clean the wall with a degreaser to remove any grease, dirt, or residue for better tile adhesion.
What Is The Best Material For A Kitchen Wall Before Installing A Tile Backsplash?
A cement backer board is recommended for its durability and moisture resistance, providing a stable surface for the tile.
How To Ensure The Kitchen Wall Is Flat Before Adding A Tile Backsplash?
Use a straight edge or level to check for any uneven areas and fill them in with a suitable patching compound.


Your blog is a constant source of inspiration for me. Your passion for your subject matter shines through in every post, and it’s clear that you genuinely care about making a positive impact on your readers.