
How to Install Kitchen Wall Tile: A Step-by-Step Guide

Installing kitchen wall tile can instantly transform the look of your kitchen and give it a fresh, updated appearance. Whether you’re a seasoned DIYer or a beginner, this step-by-step guide will help you successfully install kitchen wall tile.
Materials You’ll Need:
- Kitchen wall tiles
- Tile adhesive
- Tile spacers
- Tile cutter
- Trowel
- Grout
- Grout float
- Sponge
- Level
- Measuring tape
- Pencil
- Bucket
- Water
Credit: www.hgtv.com
Step 1: Prepare the Surface
Before you start installing the kitchen wall tile, it’s important to prepare the surface. Clean the wall thoroughly to remove any dirt or grease. If there are any loose or damaged tiles, remove them and repair the surface if necessary.
Step 2: Measure and Mark
Measure the area where you’ll be installing the tile and mark the center point of the wall. This will help you create a balanced and visually appealing layout. Use a level and a pencil to draw a vertical and horizontal line that intersect at the center point.
Credit: m.youtube.com
Step 3: Apply Tile Adhesive
Using a trowel, apply tile adhesive to a small section of the wall. Start from the center point and work your way outwards. Use the notched side of the trowel to create ridges in the adhesive, which will help the tiles adhere better.
Step 4: Install the Tiles
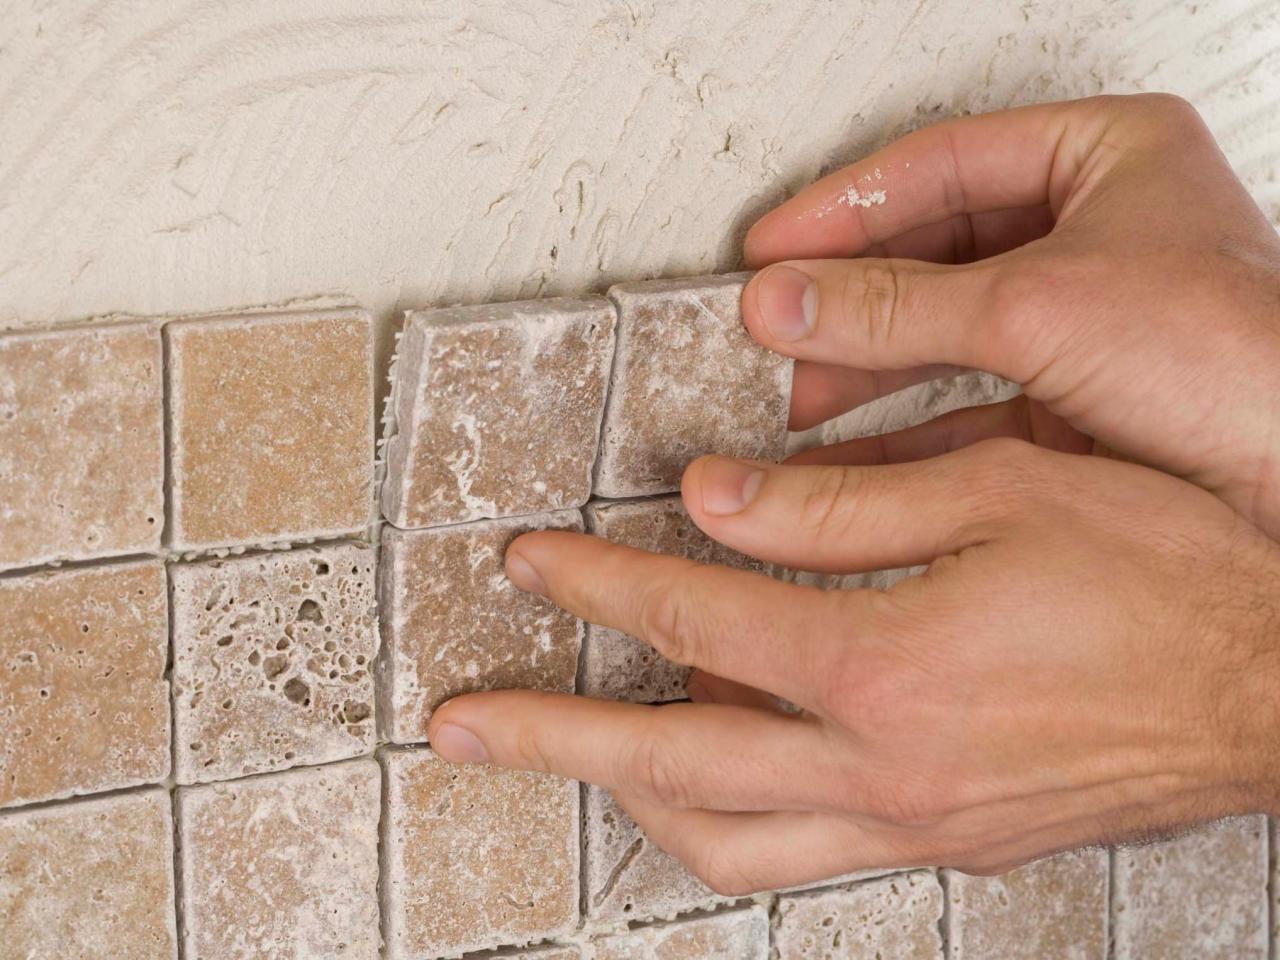
Place the first tile at the intersection of the vertical and horizontal lines. Press it firmly into the adhesive, making sure it’s level and aligned with the lines. Insert tile spacers between the tiles to maintain consistent spacing.
Continue applying adhesive and installing tiles in small sections, working from the center outwards. Use a tile cutter to cut tiles to fit around corners, outlets, or other obstacles. Make sure to leave a small gap between the tiles and any fixtures or appliances to allow for expansion.
Step 5: Let the Adhesive Dry
Allow the adhesive to dry according to the manufacturer’s instructions. This usually takes around 24 hours. Avoid touching or disturbing the tiles during this time to ensure they set properly.
Step 6: Apply Grout
Mix the grout according to the manufacturer’s instructions. Using a grout float, spread the grout over the tiles at a 45-degree angle, making sure to fill all the gaps. Remove any excess grout from the tile surface using the edge of the float.
Step 7: Clean the Tiles
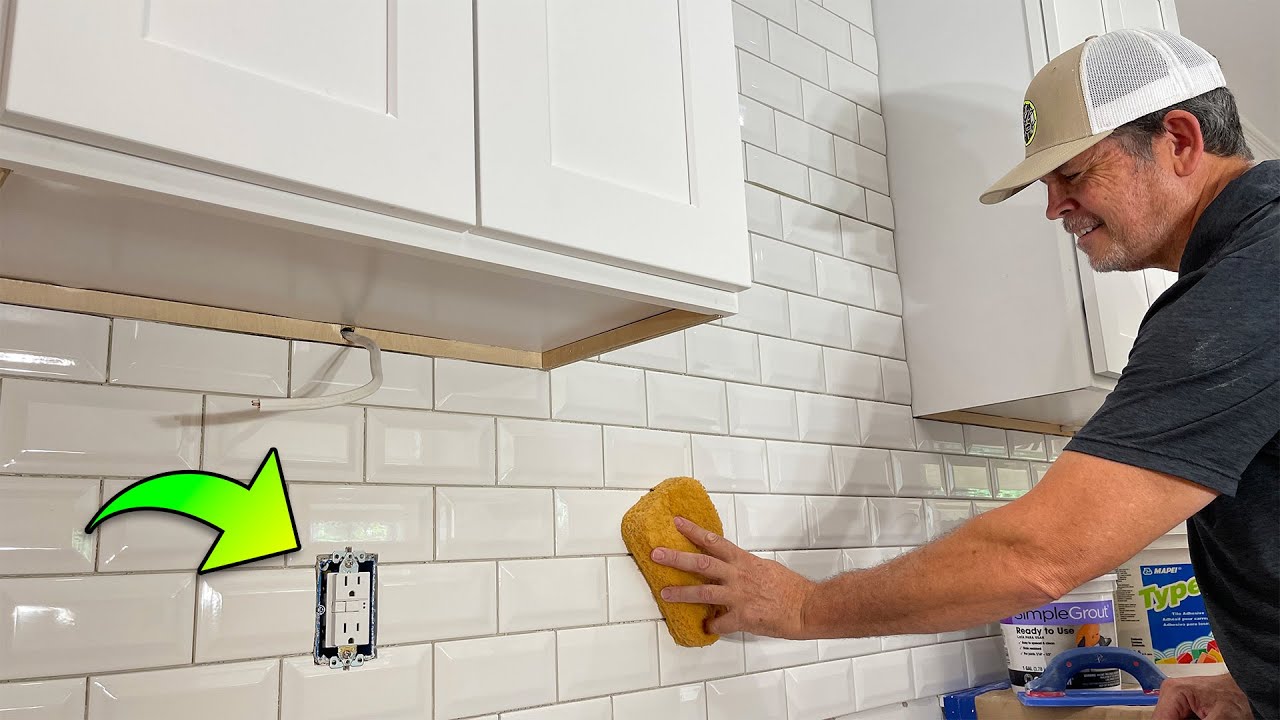
After applying the grout, use a damp sponge to clean the tiles, removing any grout residue. Rinse the sponge frequently and avoid applying too much pressure, as this can dislodge the grout.
Step 8: Let the Grout Dry
Allow the grout to dry for the recommended time, usually 24-48 hours. Avoid exposing the tiled area to excessive moisture during this time.
Step 9: Apply Grout Sealer
Once the grout is fully dry, apply a grout sealer to protect it from stains and moisture. Follow the manufacturer’s instructions for application and drying time.
Step 10: Enjoy Your New Kitchen Wall Tile
Once the grout sealer is dry, your kitchen wall tile installation is complete! Step back and admire your beautiful new kitchen backsplash or accent wall. Your hard work has paid off, and your kitchen now has a fresh, updated look.
Installing kitchen wall tile may seem daunting at first, but with the right materials and a step-by-step guide, it can be a rewarding DIY project. Follow these steps carefully, take your time, and you’ll have a stunning kitchen wall in no time!
Frequently Asked Questions
How To Prepare The Wall Surface For Tiling?
Clean the wall thoroughly to remove dirt and debris. Repair any cracks or uneven areas to ensure a smooth surface.
What Type Of Adhesive Is Best For Kitchen Wall Tiles?
Opt for a high-quality, waterproof adhesive suitable for kitchen environments to ensure a strong and durable bond.
What Is The Ideal Grout For Kitchen Wall Tiles?
Choose a non-sanded grout for narrow joints and sanded grout for wider joints to achieve a professional and long-lasting finish.
How Can I Create A Tile Layout For My Kitchen Wall?
Start by finding the center of the wall and dry laying the tiles to create a balanced and visually appealing layout before applying adhesive.


