
How to Fix Tiles on Kitchen Wall: Easy DIY Solutions

Tiling is a great way to enhance the look of your kitchen wall. It not only adds beauty but also provides protection against moisture and stains. If you’re looking to fix tiles on your kitchen wall, here’s a step-by-step guide to help you get started.
Materials You’ll Need
- Tile adhesive
- Tile grout
- Spacers
- Tile cutter
- Trowel
- Grout float
- Level
- Sponge
Step 1: Prepare the Wall
Before you begin, make sure the wall is clean and dry. Remove any existing tiles, wallpaper, or debris. Fill any cracks or holes with filler and sand the wall to create a smooth surface.
Step 2: Measure and Plan
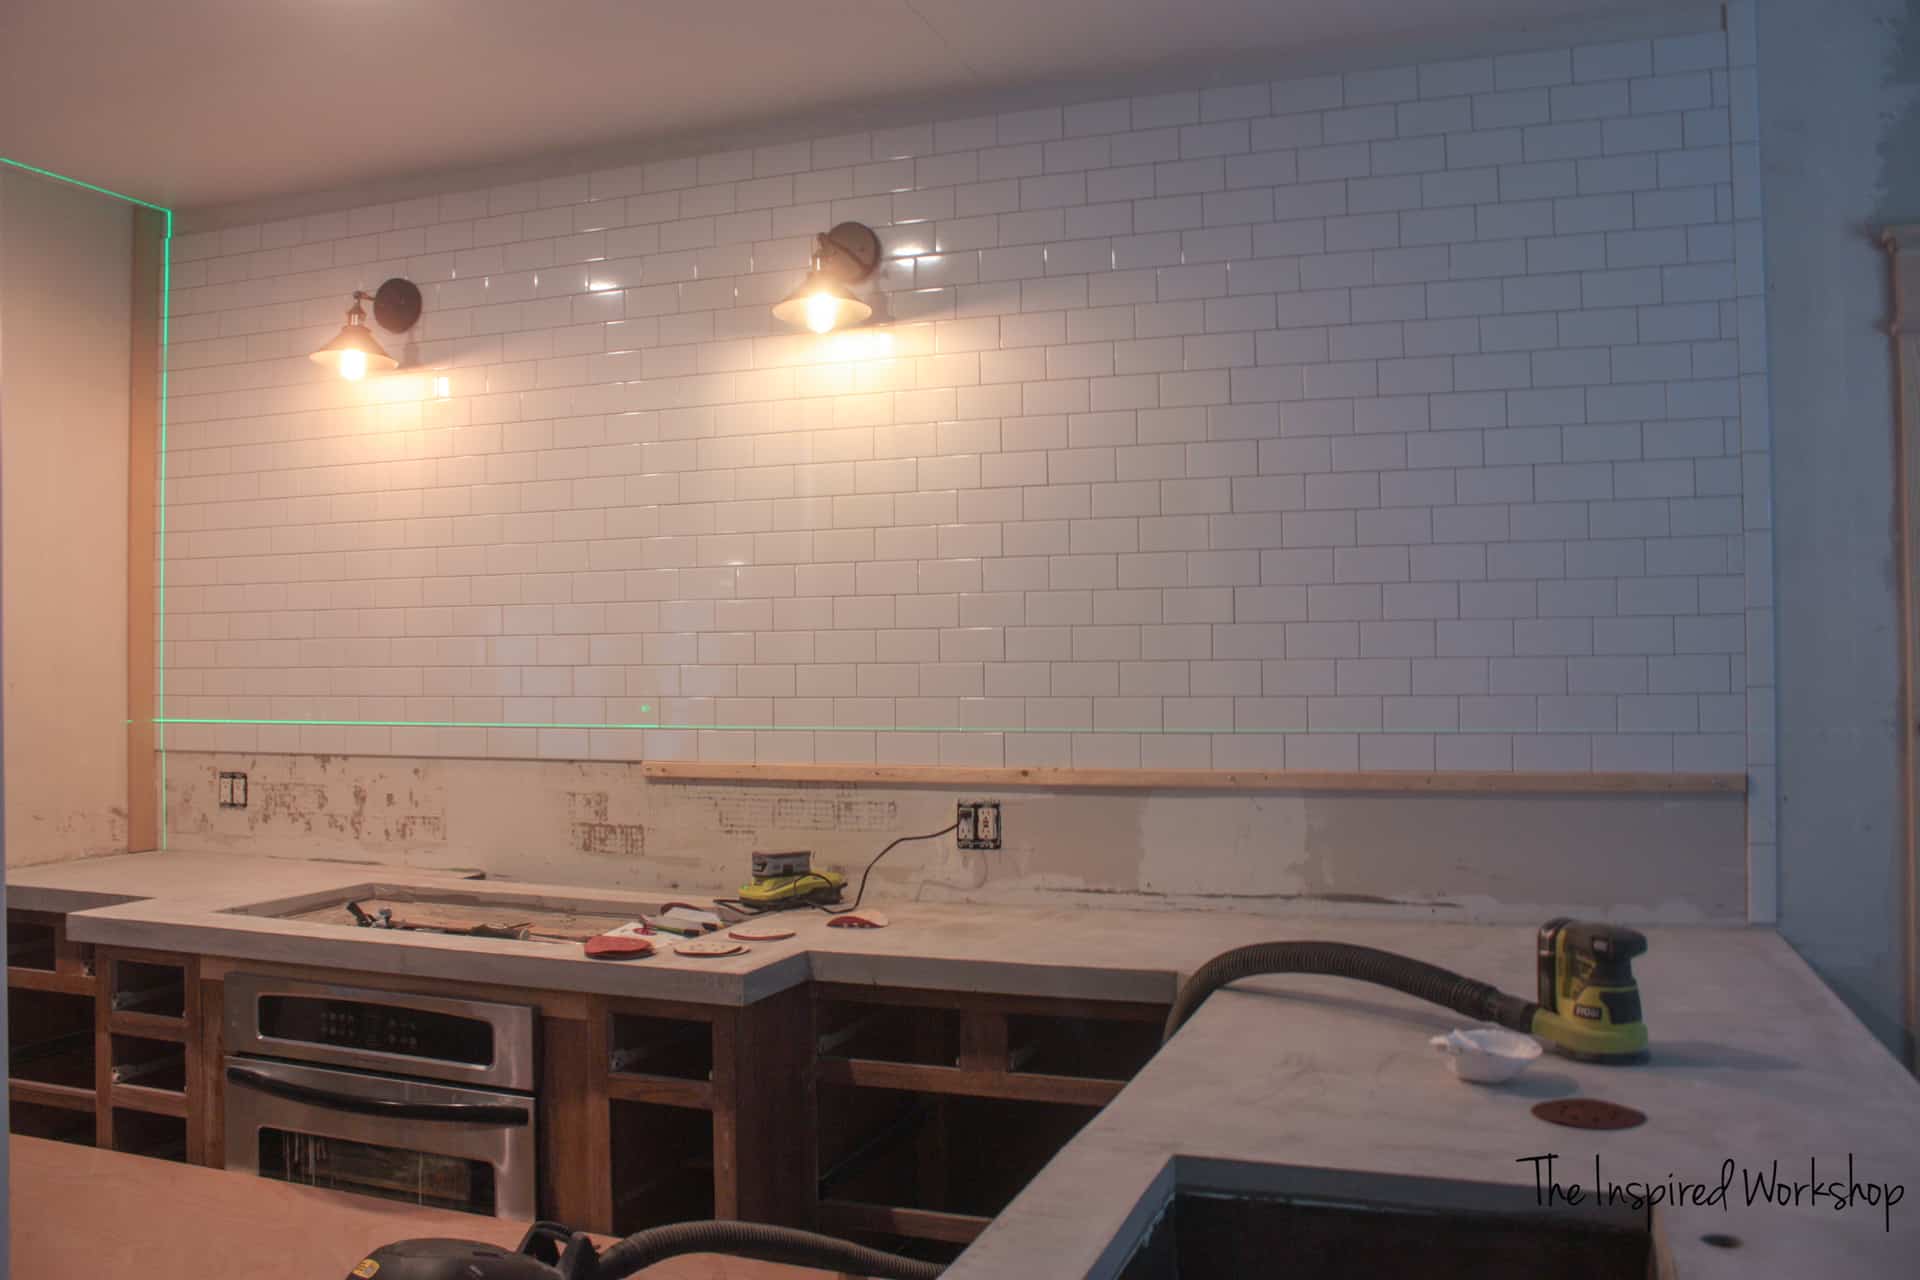
Measure the area you want to tile to determine the number of tiles you’ll need. It’s important to plan the layout beforehand to ensure a balanced and aesthetically pleasing design. Use a level and draw guidelines on the wall to guide your tile placement.
Step 3: Apply Tile Adhesive
Using a trowel, apply tile adhesive to the wall in small sections. Spread the adhesive evenly, creating ridges with the notched side of the trowel. This will help the tiles adhere properly.
Step 4: Place the Tiles
Start placing the tiles on the adhesive, following the guidelines you drew earlier. Insert spacers between each tile to ensure even spacing. Press the tiles firmly into the adhesive, making sure they are level and aligned.
Step 5: Cut Tiles if Needed
If you reach the edges or need to fit tiles around obstacles, use a tile cutter to make precise cuts. Measure the tile and mark the cutting line, then carefully score the tile with the cutter. Snap the tile along the scored line for a clean cut.
Step 6: Let the Tiles Set
Allow the tiles to set in the adhesive according to the manufacturer’s instructions. This usually takes around 24 hours. Avoid touching or disturbing the tiles during this time to ensure a strong bond.
Step 7: Apply Grout
Once the tiles are set, it’s time to apply grout. Mix the grout according to the instructions and use a grout float to spread it over the tiles. Hold the float at a 45-degree angle and work the grout into the gaps, making sure to fill them completely.
Credit: theinspiredworkshop.com
Credit: m.youtube.com
Step 8: Clean the Tiles
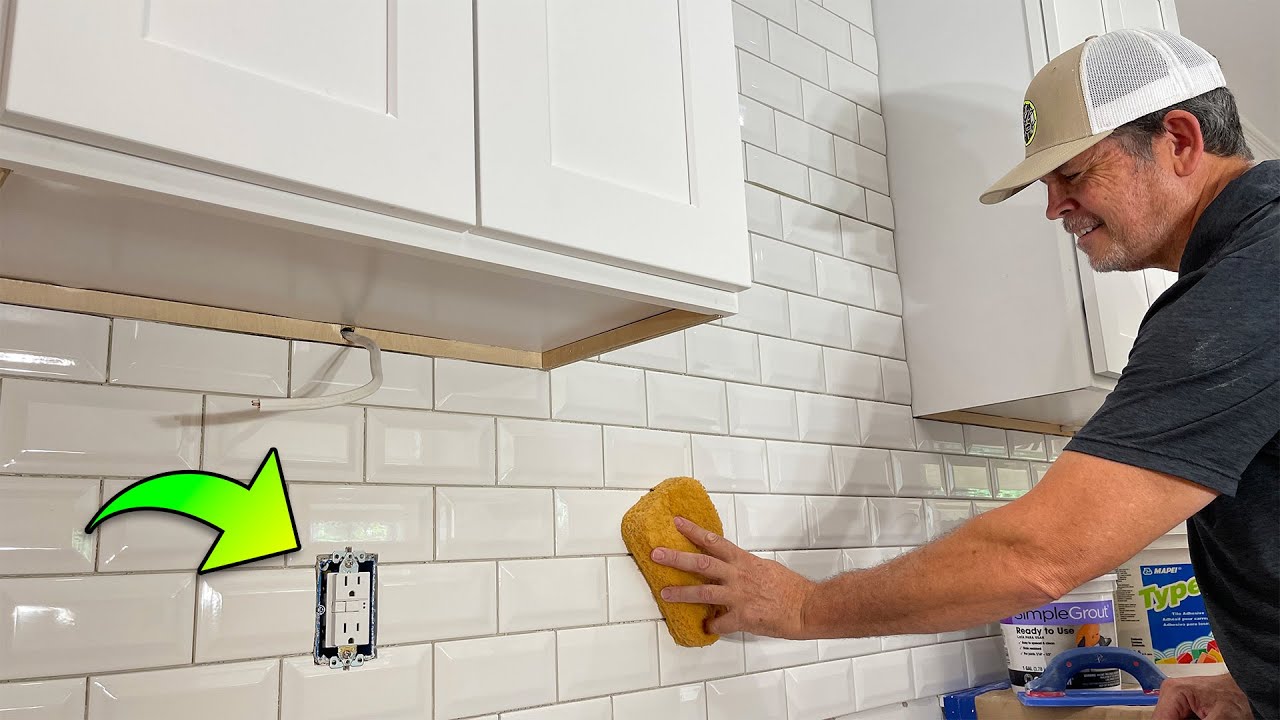
After applying the grout, wait for a few minutes and then wipe away the excess grout using a damp sponge. Rinse the sponge frequently to prevent grout haze from forming on the tiles. Be gentle to avoid dislodging the grout.
Step 9: Allow the Grout to Cure
Let the grout dry and cure for the recommended time provided by the manufacturer. This can take anywhere from 24 to 72 hours. Avoid wetting or disturbing the grout during this period.
Step 10: Seal the Grout (Optional)
For added protection against stains and moisture, consider applying a grout sealer. This will help prolong the lifespan of your tiles and make them easier to clean. Follow the instructions on the sealer packaging for best results.
Frequently Asked Questions
How To Prepare The Kitchen Wall For Tiling?
To prepare the kitchen wall for tiling, ensure it’s clean, smooth, and free of grease and dirt. Apply a suitable primer for better adhesion.
What Tools Are Needed For Tiling A Kitchen Wall?
You will need a notched trowel, tile spacers, grout float, tile cutter, and a spirit level for tiling a kitchen wall.
What Type Of Tiles Are Suitable For Kitchen Walls?
For kitchen walls, consider using ceramic, porcelain, or glass tiles as they are durable, easy to clean, and come in various designs.
What Is The Best Adhesive For Kitchen Wall Tiles?
Opt for a high-quality, flexible tile adhesive suitable for kitchen wall tiles. It should provide strong adhesion and be water and heat resistant.
Conclusion
Tiling your kitchen wall can be a rewarding DIY project. By following these steps, you can fix tiles on your kitchen wall and transform the look of your space. Remember to take your time, plan the layout, and ensure proper adhesion and grouting for long-lasting results. Enjoy your newly tiled kitchen wall!


